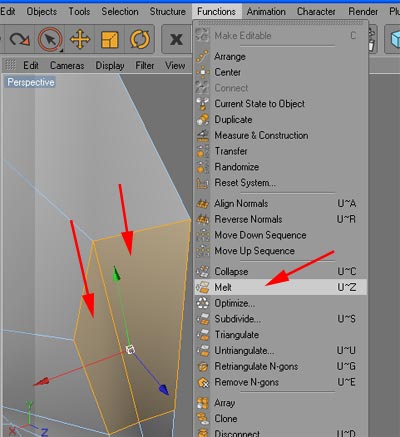

Let's start with the head. We're going to add more edge loops for more detail. First, position the side intersection point over the eye.

Put the knife tool in loop mode and add four vertical edge loops across the head. Add one horizontal edge loop that will cover the length of the mouth.
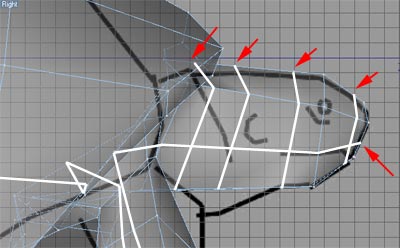
The horizontal edge loop extends down and up the front leg and across the length of the upper shell. This is fine, we'll be use these edges later.

Add another edge loop on the top of the head...
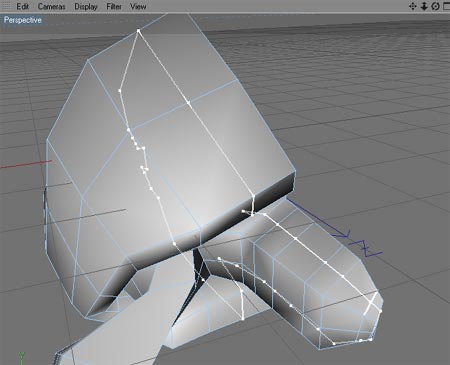
Start moving points on the new edges to match the image planes and keep switching between polygon and hypernurbs by adjusting the hierarchy in the Object Manager.
Switch the Knife tool to line mode and create edges for a mouth and add edges through the eye...

Add three edge rings around the eye...

Select the central faces and extrude into the head five times...
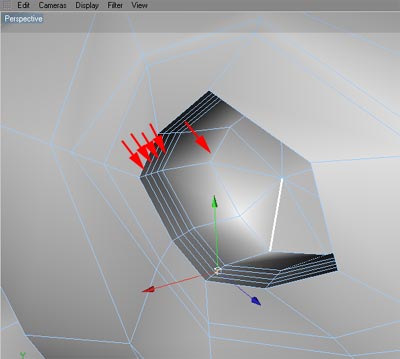
All these extrudes allow us to make upper and lower eyelids by pulling the following edges...
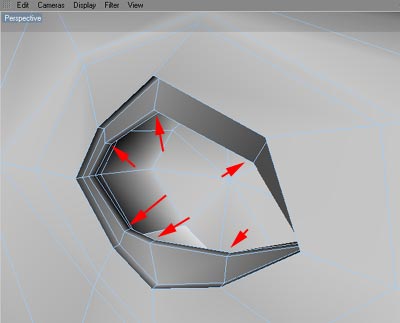
Pull out the points around the eye to form a brow...

We'll add adjust this further when we add a sphere to represent the eyeball.
Now to add a cavity for the mouth. Looking from the inside select these three faces on the side and extrude into the model...
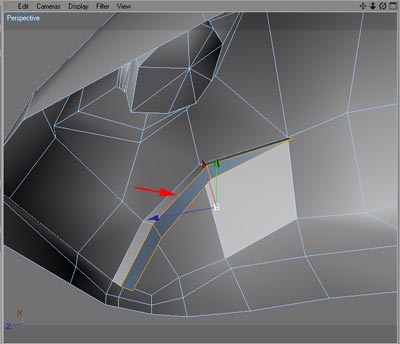
Extrude again and pull the following points up or down. You can also try scaling the selected faces, but moving the individual points should work better in this case...
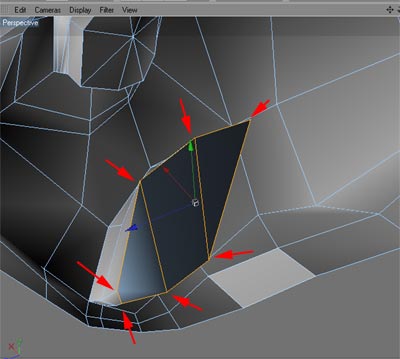
Extrude again and use structure->Set Point Value to put these points on the symmetry plane.
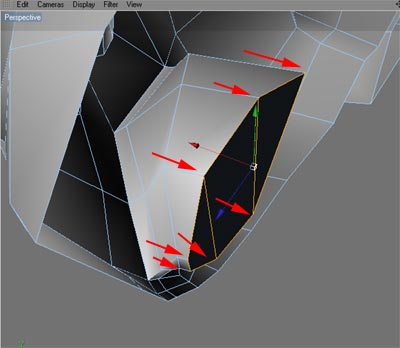
To finish the mouth cavity, select the following faces and delete them with the delete key.

And use the Bridge tool to attach the upper lip. Repeat with the lower lip.
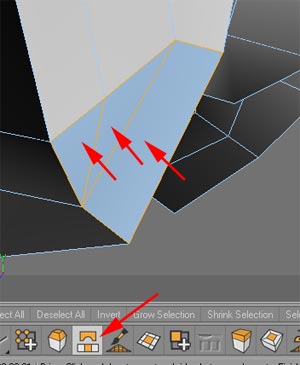
You can clean-up some of the smaller faces on the nose (i.e. merge them into larger faces) by selecting them and using the Melt command.
